
Rafter & Alder shares practical, down-to-earth guidance on loft conversions, attic storage and home organisation for uk homes for readers across the UK.
- 0123456789
- Angle Bd Abdelmoumen & rue soumaya, Résidence
- [email protected]
Rafter & Alder shares practical, down-to-earth guidance on loft conversions, attic storage and home organisation for uk homes for readers across the UK.
 By Priya Shah
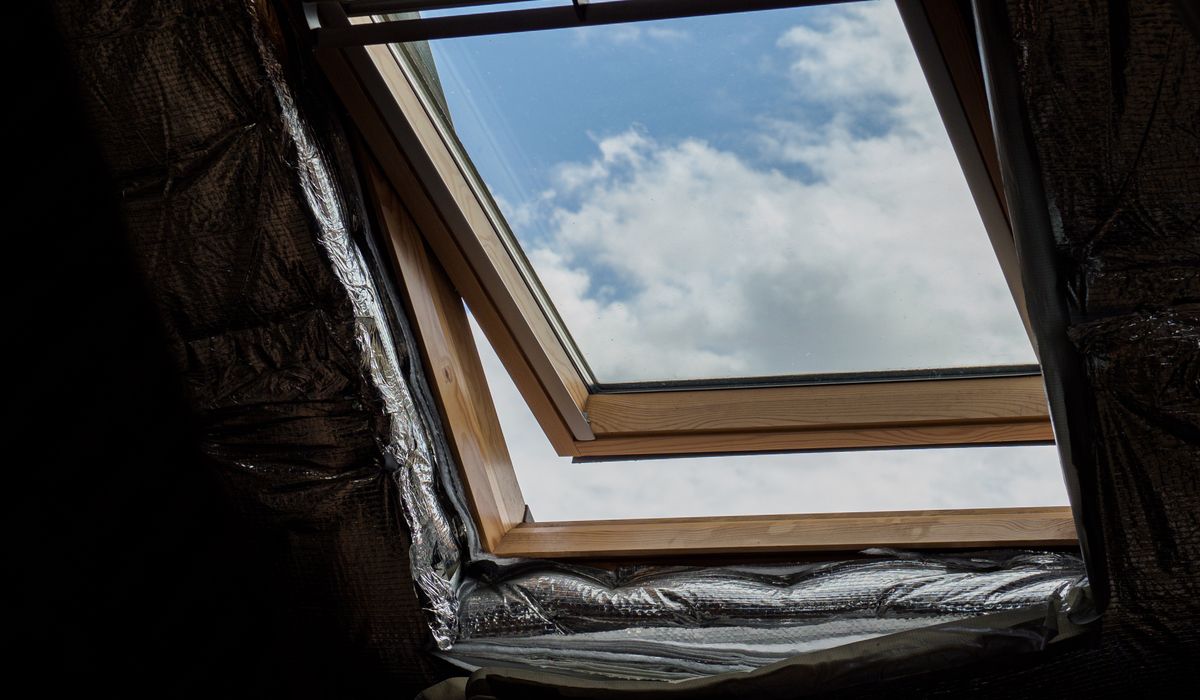
If you are lucky enough to have a loft room with exposed rafters, you already know the appeal. The sloping lines, the timber grain, the sense of history — they give a space character that plasterboard alone cannot match. But those gaps between the rafters are also dead space. With a little care, you can turn them into shallow shelves that are perfect for paperbacks, poetry, children's books and small reference volumes. The shelves follow the slope of the roof, so they feel built in rather than added on. This is not a job for a huge DIY conversion; it is a weekend project that rewards patience and a tape measure. The key is to work with the rafters, not against them, and to keep the shelves light.
Rafter centres — sometimes loosely called joist spacing — in UK lofts are usually 400mm or 600mm, but older properties can be irregular. Do not assume. Measure the clear span between the inside faces of adjacent rafters at three heights: near the eaves, halfway up and near the ridge. Use the smallest measurement for your shelf width, because rafters can taper or twist. Check the depth of the rafters too, as this limits how deep your shelf can be. A 100mm rafter gives a shelf depth of around 150mm to 200mm when you allow for battens and a small clearance. While you are up there, look for cables, downlights, pipes and ventilation gaps. You do not want to screw through a wire or block airflow at the eaves.
Books are heavier than they look, so keep the shelves modest. For a clear span up to 500mm, 18mm plywood or 18mm MDF is strong enough. For wider bays, step up to 25mm. Avoid chipboard, which sags over time, and avoid dense hardwoods that add unnecessary weight. PSE softwood battens, often 25mm x 50mm, make excellent supports and are easy to screw into the rafters. A shelf depth of 150mm to 200mm is ideal for paperbacks and most fiction. Keep each shelf between 400mm and 600mm long. If you want a continuous run, treat each bay as a separate shelf and support it at every rafter. Paint or seal the timber before fitting if you want a wipeable finish, and sand the front edges so they feel smooth to the hand.
The golden rule is simple: fix into solid timber. Plasterboard fixings will not hold a shelf full of books. Use 50mm x 50mm timber battens or metal angle brackets, and screw them directly into the sides of the rafters with 70mm wood screws. Two screws per fixing is the minimum. Pre-drill to avoid splitting, especially near the ends of the rafters. If the rafter faces are angled because of the roof pitch, cut a small wedge or packing piece so the batten sits level. Check every support with a spirit level before you commit. The shelf must be horizontal even though the rafters are not. If you are fixing to a sloped wall, remember that the brackets need to be level across the bay, not parallel to the roof.
Work methodically and the job will be straightforward. Start at the lowest shelf and work upwards, so you are not reaching over finished shelves. Mark the height on each rafter with a pencil and a spirit level. Cut your battens to fit between the rafters, leaving a millimetre or two of clearance for easy fitting. Screw them in place. Cut the shelf to width, test the fit, then slide it onto the battens. If it feels loose, a small screw through the batten into the underside of the shelf will stop it moving. Repeat for each bay. Take your time with the first one; the rest will be quicker.
Even a short shelf of books adds up. A 500mm shelf packed with paperbacks can weigh 10kg to 15kg, and hardbacks are heavier. Spread the weight across several shelves rather than filling one bay to the brim. Leave a finger-width gap at the back of each shelf so air can move behind the books; this helps prevent damp in a loft. Do not block any eaves ventilation, and keep shelves away from downlights and cables. For a neat finish, paint the battens to match the rafters or stain them to blend in. A simple front lip or a pair of bookends will stop books sliding on a sloped wall. Finally, check your smoke alarms are working — lofts need them too. With a little planning, those exposed rafters become a characterful, practical library that makes the most of every inch.


We are not gonna make spamming
